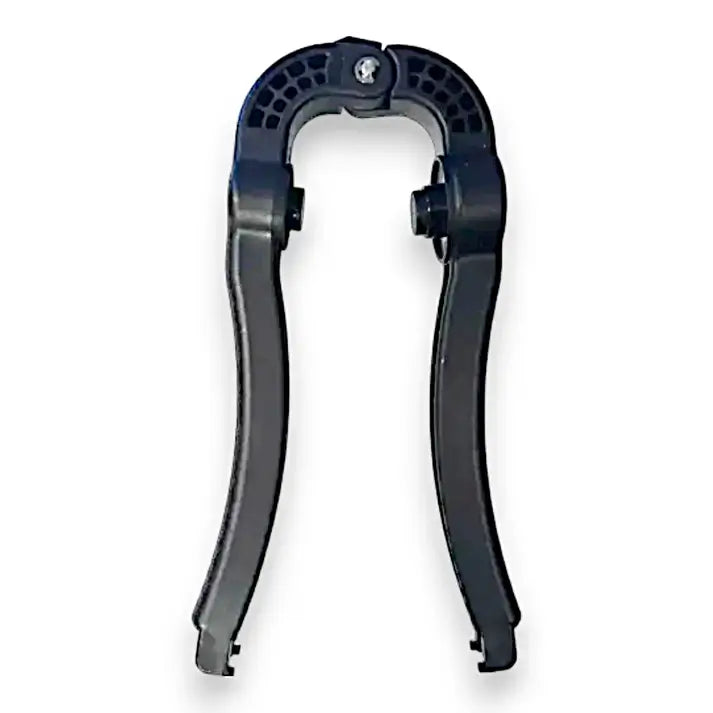
Small repair tools can protect hours of labor during the busiest part of the season. A socket wire wrench is designed to help installers securely attach replacement sockets to compatible wire, creating a more controlled process than trying to force components together by hand.
This guide focuses on the Socket Wire Wrench and the decisions that help contractors turn its listed specifications into a repeatable field plan. For a broader purchasing framework, review How to Buy Commercial Grade Christmas Lights.
Product details to verify
- Purpose-built for attaching replacement sockets to wire
- Compact tool suited to shop kits and service vehicles
- Useful in a documented repair workflow
- Replacement socket and wire compatibility must be confirmed separately
- All work should be performed de-energized and tested before return to service
The tool is only one part of the repair
A damaged or loose socket can also point to worn wire, corrosion, incorrect components, moisture exposure, or repeated mechanical stress. Inspect the full section before replacing anything. Match the socket to the wire type and manufacturer requirements. If insulation or conductors are compromised, replacing a larger section may be safer than repairing one point.
Plan the field conditions
Never service energized lighting. Disconnect and verify power is off, keep the work area dry, and follow applicable electrical codes and product instructions. After using the wrench, inspect the connection visually and mechanically, then test the completed run with appropriate equipment before it returns to the property.
A repeatable contractor workflow
- Remove the run from power and verify a de-energized condition.
- Inspect wire, socket, conductors, and nearby components.
- Confirm the replacement socket matches the wire system.
- Use the wrench according to the socket and tool instructions.
- Test, label, and document the repair before reinstalling.
Where this product fits
The greatest value comes from including the wrench in a standardized service kit with compatible replacement parts, testing equipment, labels, and a written decision rule for repair versus replacement. That consistency helps multiple technicians produce the same quality of work.
Build the full job estimate
Estimate quantity from the actual attachment points, power zones, or repair tasks—not from a rough property average. Include compatible companion parts, prep labor, testing, access conditions, removal, and a reasonable service quantity. Small accessories can protect job margin when they are specified up front, but they become expensive when crews discover them after arriving on site.
Plan service, removal, and storage
Add the component to the job’s service notes and photograph any unusual placement. At removal, inspect for cracking, corrosion, deformation, loose connections, or damage and retire questionable parts. Sort reusable hardware by exact type instead of mixing it into a general clip or accessory bin.
Check the current configuration before ordering
Product options and ordering status can change. Use the live product page to confirm the exact variant, specifications, included components, warranty terms, and current ordering details before committing materials to a customer project. Avoid substitutions unless the design, electrical plan, and customer approval are updated together.