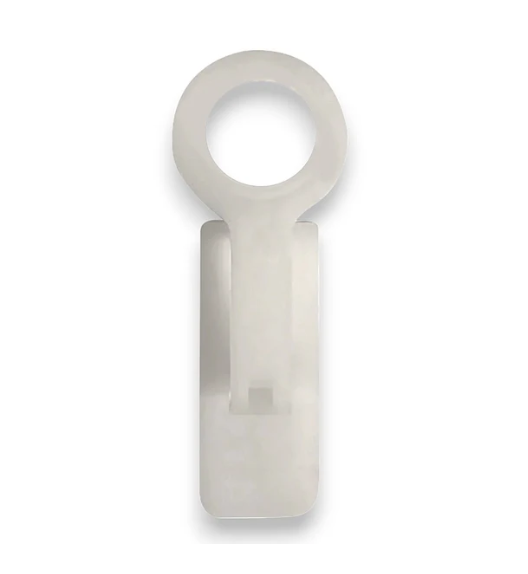
A clean C9 roofline depends on uniform socket position as much as bulb color and spacing. The C9 Best Clip gives installers a reusable attachment option for suitable gutters, drip edges, and some shingle conditions, with the goal of keeping each bulb aligned through the visible run.
This guide focuses on the C9 Best Clip and the decisions that help contractors turn its listed specifications into a repeatable field plan. For a broader purchasing framework, review How to Buy Commercial Grade Christmas Lights.
Product details to verify
- Designed around C9 roofline installations
- Suitable uses listed include gutters, drip edges, and certain shingle applications
- White 100-count packs and 1,000-count cases are listed
- The product is presented as a durable, reusable installer-designed clip
- Site conditions still determine whether the clip is appropriate
Orientation is the real performance test
Before committing to a full elevation, install several sockets and bulbs at the actual site. View them from the street and from likely customer sightlines. Confirm that the clip holds the socket at a repeatable angle and that corners and peaks can be handled without twisting the wire. A five-minute test can prevent an entire run from appearing uneven.
Plan the field conditions
Roofing and edge details vary widely. Inspect material condition, thickness, flashing, gutter profile, and manufacturer restrictions. Never force a clip or lift roofing in a way that creates damage. If the surface is not compatible, document and use a different approved attachment method rather than improvising at height.
A repeatable contractor workflow
- Identify every roof-edge type during the estimate.
- Test clip fit, socket grip, and bulb orientation on each surface type.
- Prepare runs with consistent wire direction and spacing.
- Carry a documented alternate method for incompatible transitions.
- During removal, inspect and sort reusable clips before storage.
Where this product fits
The C9 Best Clip is most useful when it becomes part of a company standard: one clip, one orientation rule, and one method for exceptions. That repeatability helps new crew members produce work that matches the company’s established finish.
Build the full job estimate
Estimate quantity from the actual attachment points, power zones, or repair tasks—not from a rough property average. Include compatible companion parts, prep labor, testing, access conditions, removal, and a reasonable service quantity. Small accessories can protect job margin when they are specified up front, but they become expensive when crews discover them after arriving on site.
Plan service, removal, and storage
Add the component to the job’s service notes and photograph any unusual placement. At removal, inspect for cracking, corrosion, deformation, loose connections, or damage and retire questionable parts. Sort reusable hardware by exact type instead of mixing it into a general clip or accessory bin.
Check the current configuration before ordering
Product options and ordering status can change. Use the live product page to confirm the exact variant, specifications, included components, warranty terms, and current ordering details before committing materials to a customer project. Avoid substitutions unless the design, electrical plan, and customer approval are updated together.